Easy How To Draw A Duck Tutorial And Duck Coloring Page
I add more to the breast, bark, and some of the wing plumes. This unifies the illustration in terms of color. With, I make the darker locations of the wing more solid.
In the head, neck, and breast areas, I work mostly in a contour-hatching manner to produce an illusion of volume. I create shadows in between them with sets of parallel lines.
This area's local color is light gray, but the lighting and the form of the body substantially affects the worth. I broaden the contour line in the lower part of the body to accent that this area is in shadow.
Mix cadmium yellow with Naples yellow on your palette to make a pale, buttery shade.
Don't fret about making the wash even the areas that will require shading should be more saturated. Saturate more color to include texture and shading while the paper is still damp. To make a much deeper yellow for shading, blend a little quantity of burnt sienna into your yellow. Continue structure layers of color and including shading, utilizing your referral picture as a guide.
How To Draw A Duck - We Draw Animals
If you pick to utilize watercolor, leave a small area for the catch light unpainted when adding the eye. Your duckling is done!
Put an oval body throughout the posture line. Do not make the error of putting the oval above the line, half of the body must be immersed listed below the surface. Carefully study the size and place of the head and place it as finest you can. It assists to think of a vertical line forecasted from the chest of the duck.
It is very practical to look at the unfavorable shapes when carving the angles. Pay particular attention to the shape below the head, behind the neck, and under the tail. Likewise enjoy that forehead to expense angle. Now you can make use of top of this framework with confidence and intentional strokes, knowing that you have the fundamental shape.
If you are field sketching, make substantial color notes directly on top of the illustration or with little guideline lines. I utilize my own one or 2 letter codes for colors. Violet is a V, orange is an O. Lots of colors begin with B or G so I utilize the very first and last letters: green is GN and Gray is GY If the bird begins moving its head, I add in additional head showing the changes in shape and posture.
I now block in the values with a soft pencil. Do not be scared to push the darks. You may have much better luck utilizing a soft 2B pencil rather than that useful HB. The angles of the shading lines can likewise recommend the airplanes of the body or the "vermiculation" or little wiggling lines on feathers.
How To Draw A Duck - Quick Step-by-step Tutorial
I lay in lighter color washes. I use a Pentel waterbrush so the paint slowly lightens as I work.
When you start drawing ducks, turn some of your sketches into plumage diagrams. Call and define each part of the duck to help yourself find out and see each area.
It is not what you think, So what plumes are that little black spot? Leave a remark below and happy sketching.
Start the tutorial utilizing a pencil and make thin and light lines as you will require to eliminate little parts of the illustration in a few of the action. You can darken them in action fiver before coloring. Duck body summary drawing Begin by making an overview illustration of the duck's head and body without any of the smaller sized details.
Draw the body with smooth curves however make it somewhat flatter at the extremely bottom as part of it will be submerged in water. You can also draw a hint of the plumes to show the tail. Duck expense drawing Draw the bill towards the lower part of the front of the head.
Easy How To Draw A Duck Tutorial And Duck Coloring Page
Likewise be sure to draw the leading part of the expense larger and a little longer than the bottom. Duck wing drawing In the middle/top of the body draw the wing with some splits on it's end (comparable to the tail) to give a hint of the feathers. Erase the part of the body overview overlapped by the feathers when including them.

Lastly also include a small oval shaped nostril to the upper part of the beak (near the head). Duck line drawing Add some water ripples around the duck to reveal that it's drifting and later on draw the pattern of it's plumes. Draw the water ripples as though they are sort of "covering around" the duck.
For more simple tutorial on drawing other types of birds also see:.
For the very first shape, you will need to draw a slightly sloped, big oval. The left-hand side of the oval will require to be a bit greater than the right-hand side. This is because the body of a duck has a small slope to it. If you are utilizing pencils, rather than a drawing tablet, make certain these lines are rather faint, so do not press too hard, you will desire to erase these lines later on.
You will not desire your ducks head to be too high above its body. Ducks also have particularly rounded heads. Take a look at the point on your duck main body oval where its wing begins to overlap, just above this point, you will draw a small circle shape to develop your easy duck illustrations head construction line.
An Easy Duck Drawing Tutorial For All Artists
Draw an elongated "U" shape to produce the duck's beak. The beak of your duck need to face in a somewhat down position from the front of the duck's head. As soon as you have actually finished action 5 of how to draw a duck, you will notice that your duck's final form is actually starting to take shape.
You will need to draw 2 lines, each line ought to be smooth and smooth. When producing your very first line, start at the bottom of your duck head building and construction circle. You will need to draw a line that curves back and then around the front of the primary body oval.
It is time for the sixth action in your simple duck drawing. This is where you will be including the duck's legs and feet. All you require are some basic, single lines to assist plan their positioning. As discussed earlier in this how-to-draw a duck post, we discussed how most building lines used will be circular or other shapes, however, for the legs and feet they are not.
The shape is almost renowned. Once again, this step in your duck sketch is really basic. Start your tail line at the point of intersection in between the primary body and wing at the back of the duck, produce a small and curved tail shape that ends on the bottom side of the main body oval.
Utilizing the construction lines of your duck that you have made, you can now detail your duck illustration. This includes your duck's head and body, its wings, and even some of your duck's facial features. Beginning with the duck's head, make certain you outline and follow your construction lines closely and precisely.
Easy How To Draw A Duck Tutorial And Duck Coloring Page
This will help reveal separation from the rest of your duck illustration's head. You can likewise draw a line to reveal the separation of the top and the bottom halves of the beak. Remember, ducks likewise have nostrils, so draw a small one near the top of the beak, where it fulfills the head.
Textural lines and dots are how you will attain practical plumes on your easy duck drawing. You will start by including some detailing to your duck's beak.
Now, onto the head of your duck drawing! By utilizing different dots and lines you will develop shadows where they would naturally take place. At the very same time, you can also include color now to the eye of your duck, and a little bit of shading around this location too. Remember to follow the shape of your duck's body in order to make it seem more realistic.
Using a line of smaller sized lines, you have the ability to produce separation in between your duck's chest and the rest of his body. Keep in mind to keep the plume lines on the chest streaming downwards and curving with the natural shape of your duck. When you get to the wings and other parts of your duck's body you can utilize slightly longer lines, however, still following the shape of your duck in a natural fashion.
As you already know, the Mallard duck has really distinguishable features, unlike other ducks, they are so perfectly and strongly colored! As with all illustrations, you will want to construct up the color utilizing various shades and at a progressive speed.
Learn To Draw A Duck - Activity Village
The next color in your toolbox will be a light brown shade. As can be seen in the example image listed below, You will be applying two layers of this lighter brown in 2 areas of your duck. You need to pick a medium-sized brush for your duck's breast area, the top of your duck drawings back, and some on the bottom of its wing.
To attain this outcome, all you will need to do is add another layer of your light brown shade to all the very same locations of your duck, leaving out the chest. There are 2 different colors that you are going to use in this action to produce the signature iridescent green head.
Begin by coloring the entire head with your light green shade. You can go in with a soft brush and mix the purple paint into the green all around the edges of the head.
Begin this step with a yellow shade and color the whole beak. You can then use a light brown shade to add shadow and contouring to the beak. For the duck's feet, find a reddish-orange shade and color the feet totally. You can end up the feet by adding a second layer of white highlight on the front sides of the legs and feet. duck drawing very easy.
Start the highlighting by utilizing a shade of white to add dabs of light throughout the primary body of the duck. Make sure that your brush strokes follow the textural lines for extra realism. You can likewise include white highlights to the neck and include a little sparkle in the duck's eye.
How To Draw A Duck - We Draw Animals
While this step is not a required one, it will definitely assist guarantee that your duck illustration is more practical and more seamless. This step will likewise apply for your textural lines, however for these, trace over them with your gray and light brown.
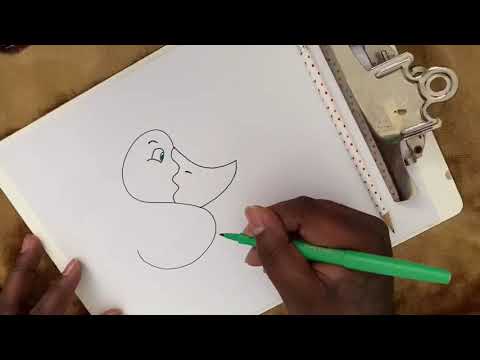
The duck drawing tutorial includes a few easy steps. You will enjoy drawing and gain brand-new skills. In this tutorial, you will need to be able to make smooth, rounded lines. The head is an even circle, and the body is also rounded. The paws are very little, the beak is of medium size.
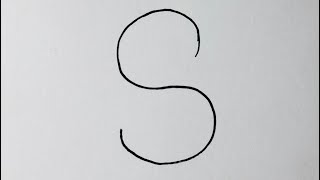
Products Pencil, Paper, Eraser, Coloring materials How to Draw a Duck for Kindergarten To do this, draw an even circle. Utilizing a smooth line, draw the torso in the very same shape as in the example.
Color the beak orange. The duck drawing tutorial is over and now you have discovered how to draw a adorable little duckling. I hope you did well and you enjoy with the result. I suggest drawing the background and extra elements in your illustration. For instance, you can draw green grass on which the duck is standing.
Reveal the drawing to your friends and assess the outcome together. I would enjoy to hear your impressions of this tutorial.
Learn To Draw A Duck - Activity Village
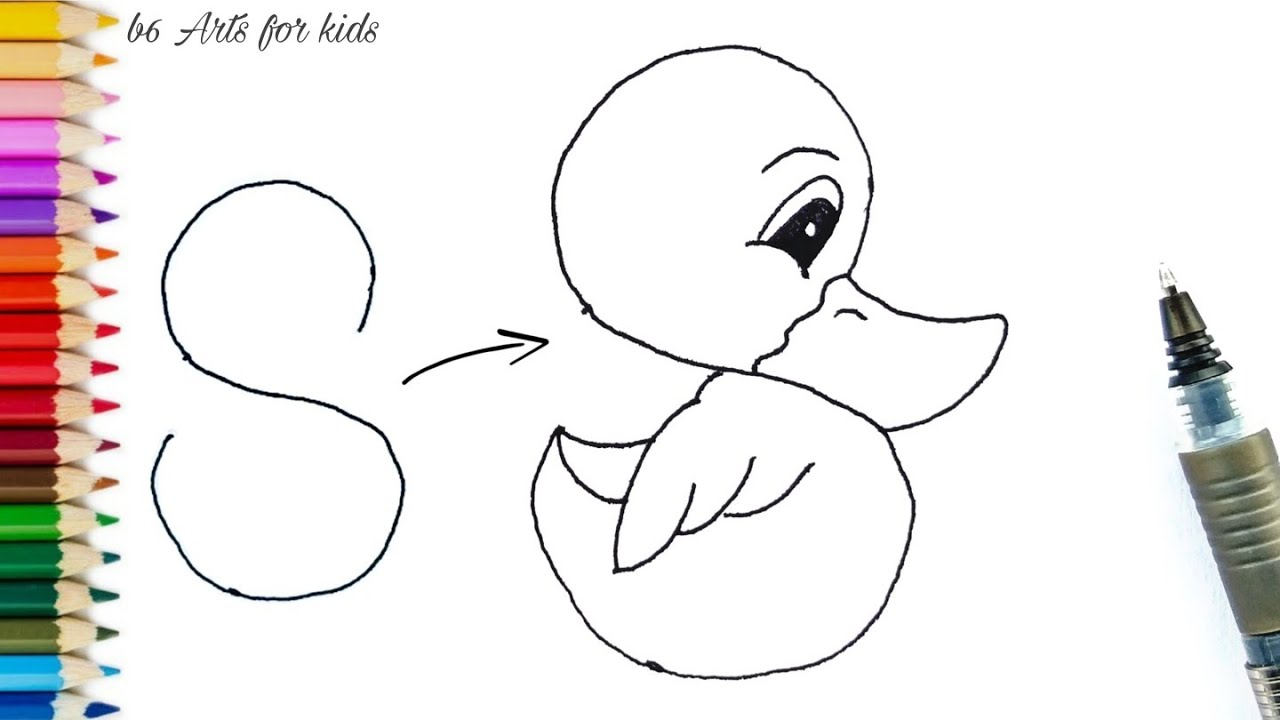
You can ace this sketch in only 6 steps. Start with a circle for the face, some lines for the neck, and an oval for the tummy part. After this, deal with its plumes and other facial functions and legs. And that's all you require to do! dragoart If you are a fan of the charming little rubber ducks, then here is the best illustration idea for you.
Brak komentarzy:
Prześlij komentarz